STALKER 2 There and Back Again walkthrough for the tutorial prologue
The tutorial in STALKER 2 Heart of Chornobyl, There and Back Again, is a challenging introduction

This STALKER 2 There and Back Again walkthrough will help you survive the tutorial, which can be a pretty brutal introduction. If your not prepared for just how unforgiving this game can be you might be surprised just how lethal the most simple objectives can be.
So if you're taking a beating right at the start, let me guide you through the perimeter wall and into the Heart of Chornobyl. You're meant to be infiltrating the Zone in STALKER 2 as a character called Skif but, alone in the dark and with lethal anomalies all over the place, it’s a lot and it can feel overwhelming.
Trust us when we say that this is a ruthless game that can chew up unprepared players and spit them right out. Our STALKER 2 There and Back Again mission walkthrough will help you get through in one piece, but you’ll have to pay attention.
Full walkthrough and guide for There and Back Again in STALKER 2
The full walkthrough for the STALKER 2 There and Back Again tutorial mission is below, but before you start remember to quicksave from the pause menu often. This is one of our main STALKER 2 Tips generally, as the Heart of Chornobyl is pretty merciless. The game will force you to reload a save if you die - and you will die often - so save regularly and you'll only have to go back a few minutes.
Cross the Perimeter
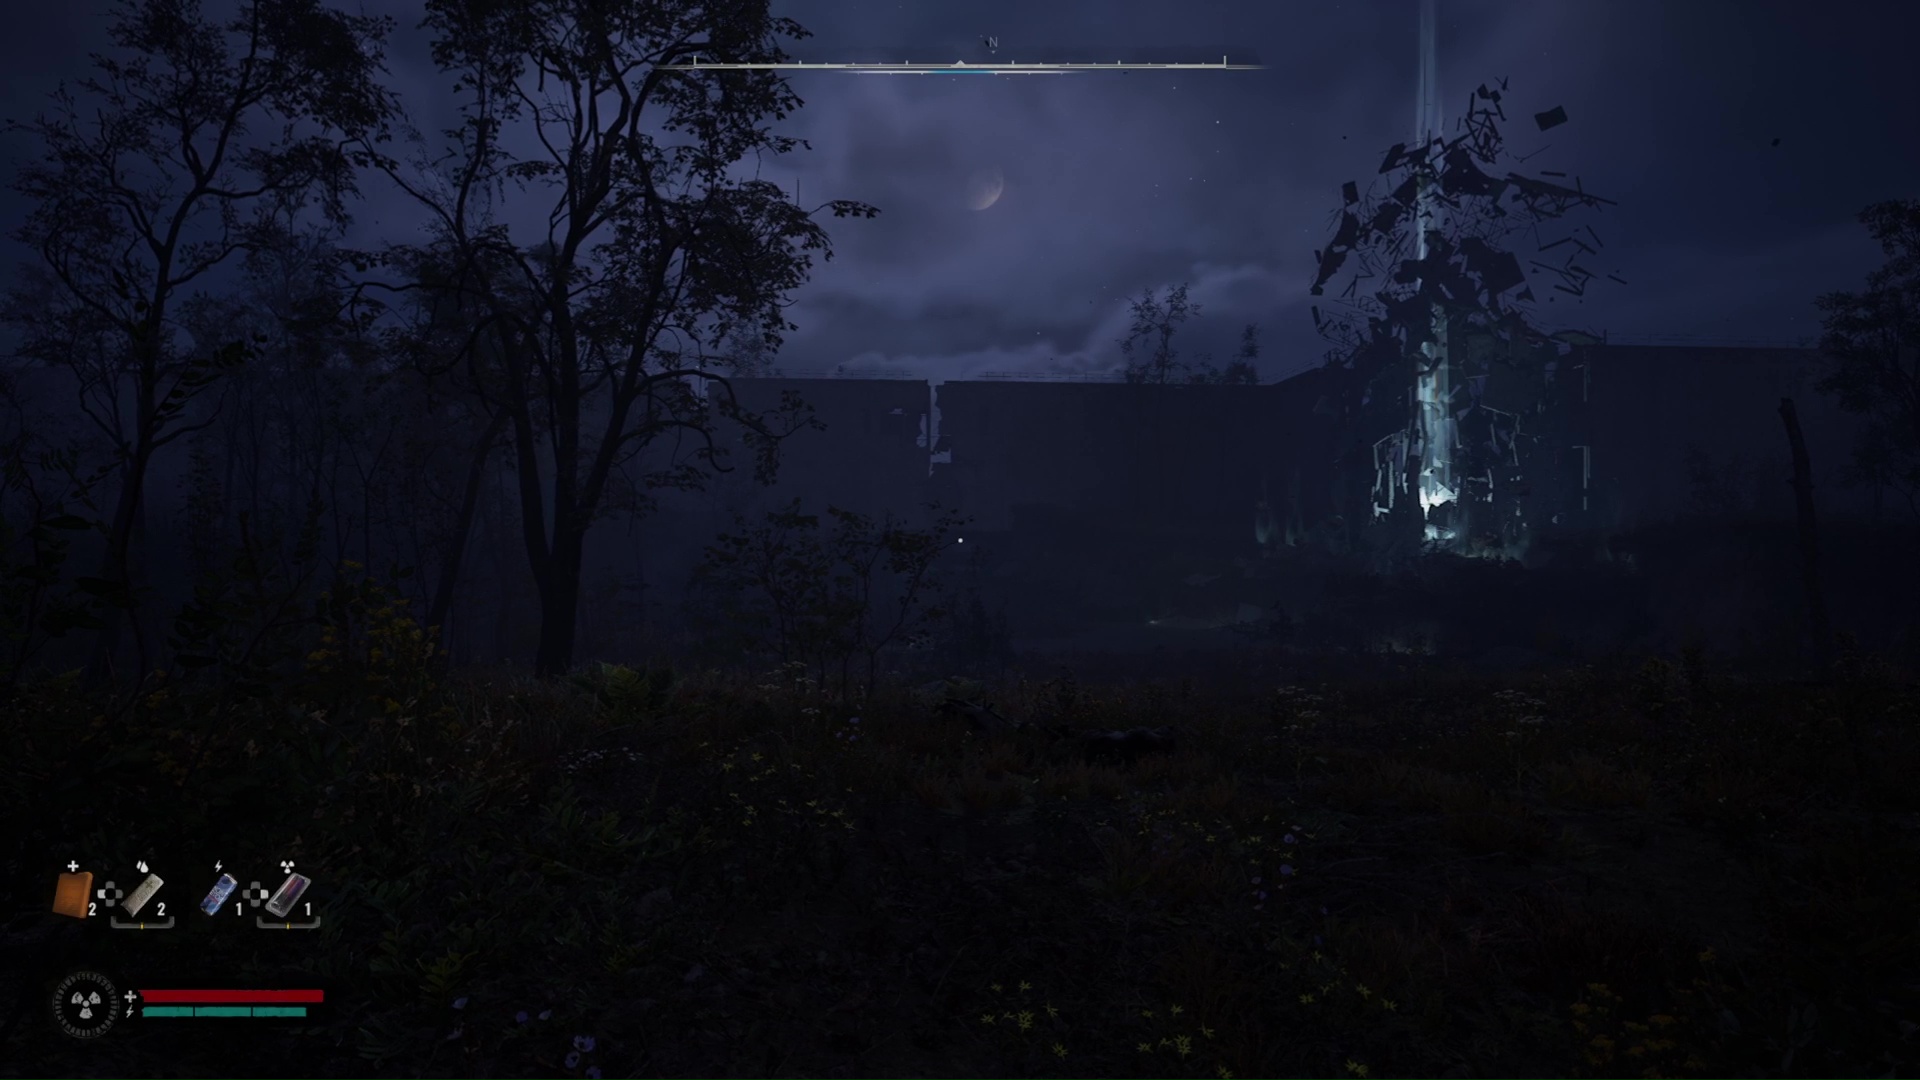
Once STALKER 2 is done Compiling shaders and you've spoken to Hermann outside the wall, you'll climb over the top and have to move forwards. This is officially the start of There and Back Again so here are the first steps you need to take:
- Head straight ahead to the crack in the high perimeter wall, to the left of the glowing anomaly. Making sure you turn on your STALKER 2 flashlight so you can see more.
- Climb through the gap so you're inside the wall itself.
- Follow the path right for some optional supplies at the end (you'll need to break them open with your knife). Then head back left and take the other path that slopes down into the sewers.
- Before you head on, loot the wall cabinet next to the boarded up door for medical items.
Go through the Sewer Tunnel
The sewer tunnel is where you'll first start encountering some serious danger, meaning the medkits you've hopefully found can come in useful.
- Use your knife to break down the wooden boards blocking the door.
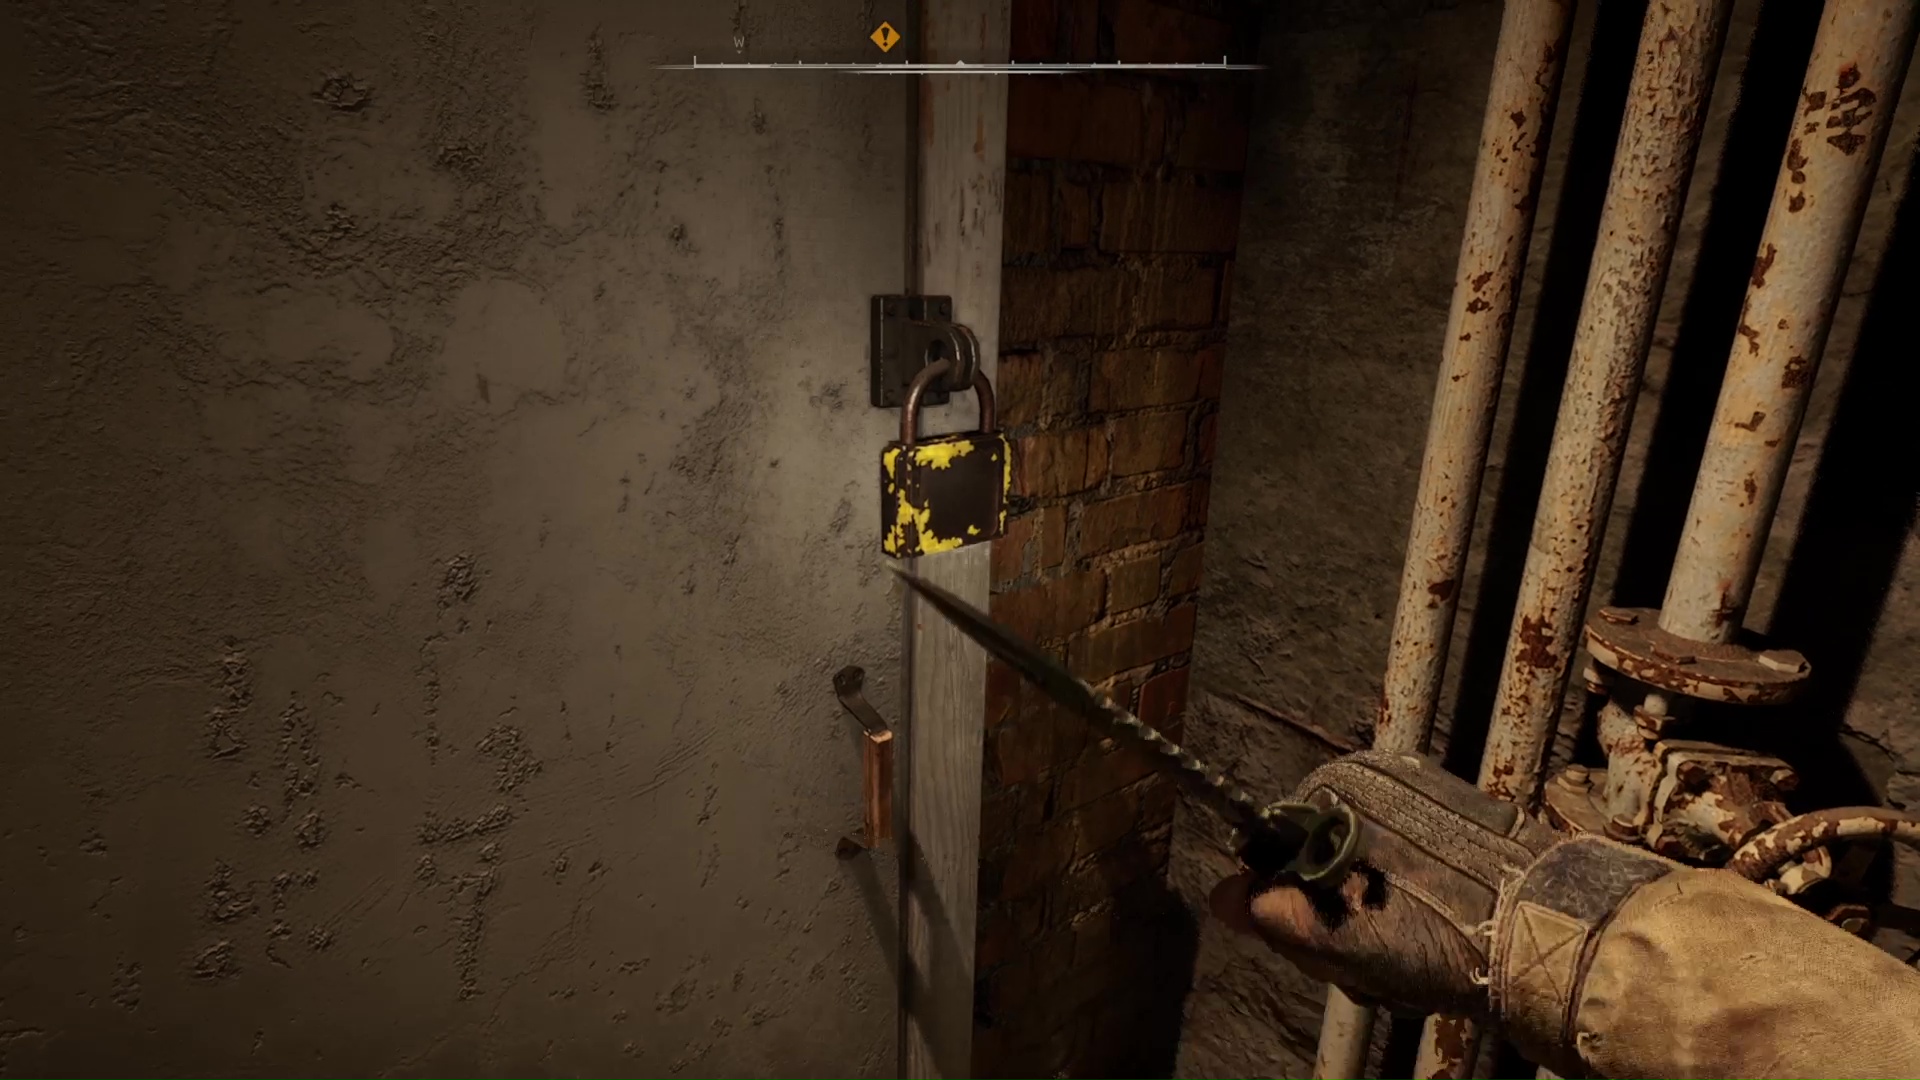
- Head down the corridor until you come to a door with a yellow padlock. Hit the padlock with your knife to open it.
- Go through into the sewer pipe, climbing over the obstacles ahead of you. Follow it around; you'll hear some chatter from the South Checkpoint.
- There'll be a soldier's body on the right with an SMG and PDA. Loot it, as you're going to need it, but just be aware you won't get to keep any STALKER 2 guns you find after completing the tutorial.
- A ball of electricity is moving around the sewer on a loop. Follow it closely down the pipe without getting too close, past another lootable body, until it goes up.
- At the end of the pipe turn left. From that point on, follow each turn that brings you in the direction of the main objective on your compass until you reach the opening and emerge back into the open world.
Get to the Mobile Lab
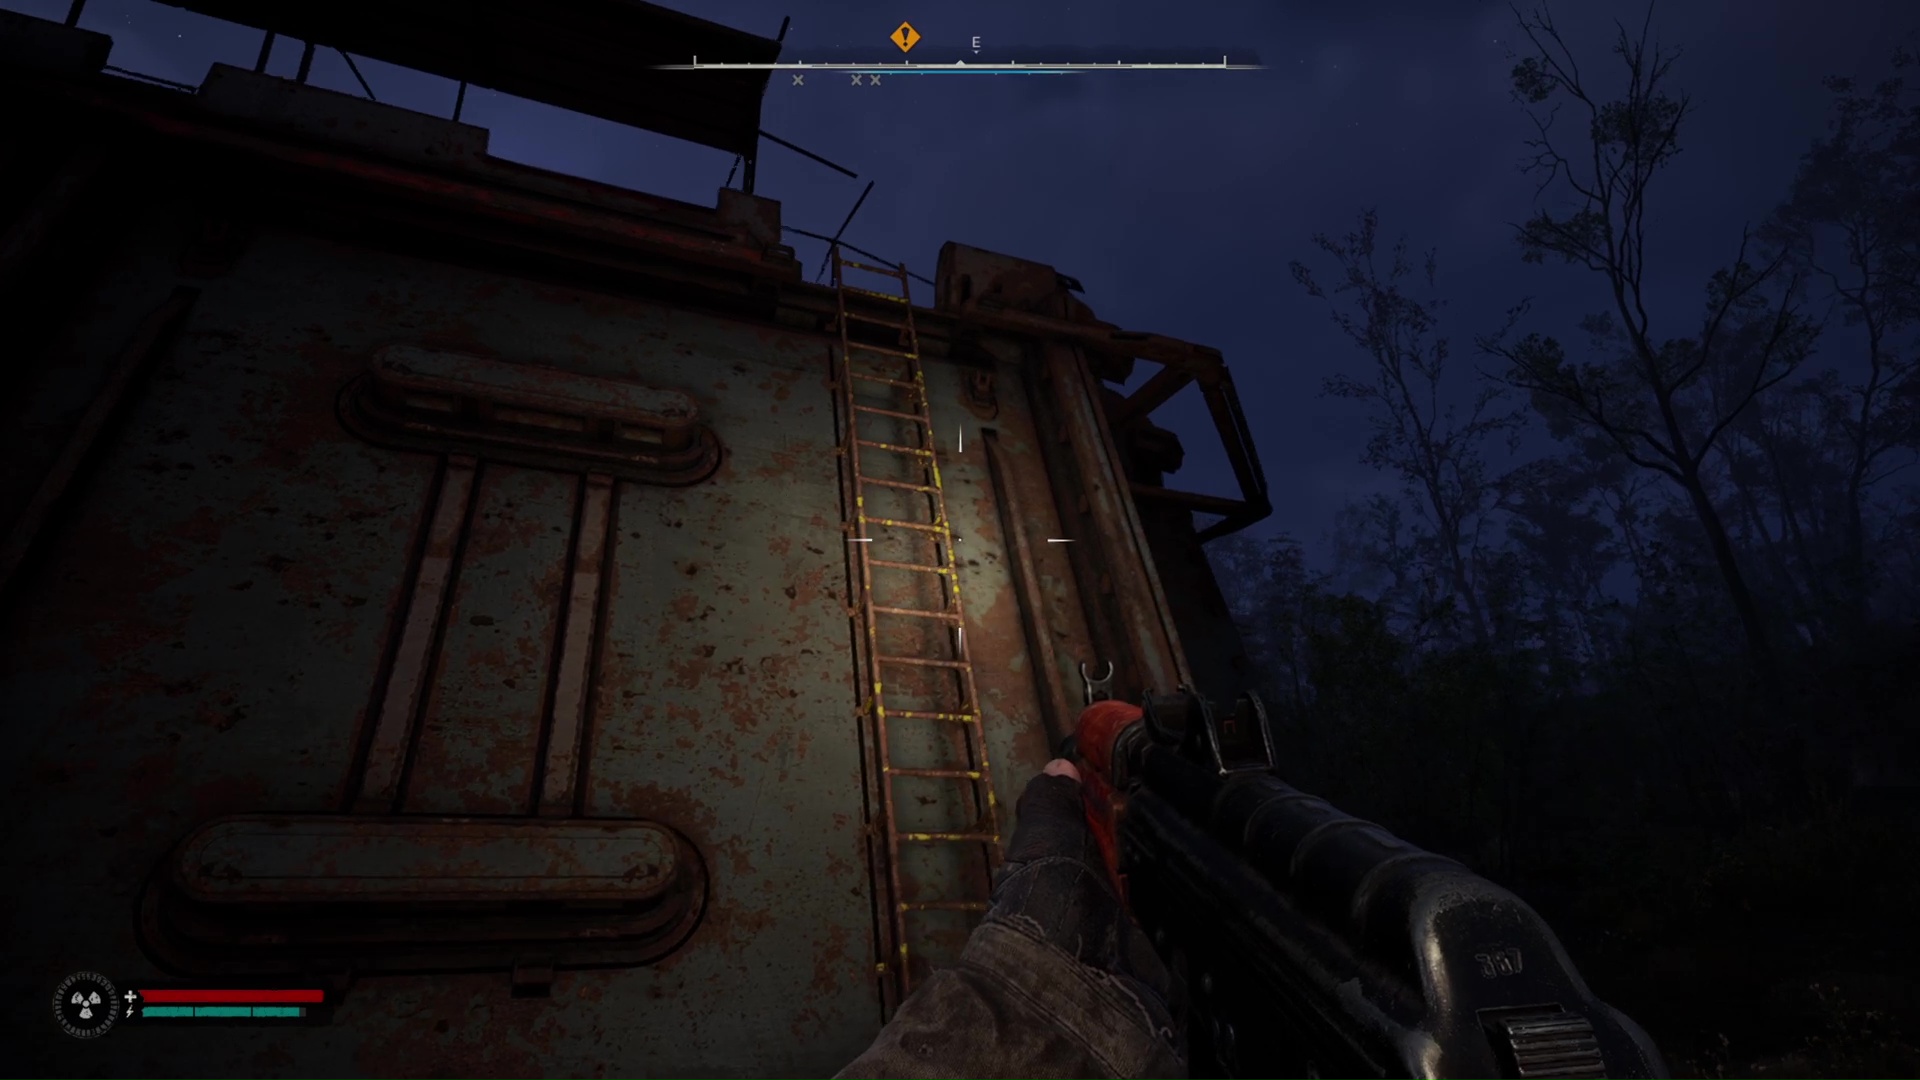
Now you're out in the wild, you need to find the mobile lab structure and get inside.
Weekly digests, tales from the communities you love, and more
- Follow the objective marker, circling around radioactive spots (marked by radiation signs).
- You may encounter enemies along the way. Back up and fire in controlled bursts for the best chance. There'll also be ruined houses you can loot for more items.
- The mobile lab is a large, stone bunker. Use the yellow ladders on its side to climb to the top.
- On top of the mobile lab, look for the red light - there's a hatch underneath you can use to climb down into the lab itself.
- Make sure to interact with the ladder! Fall damage in STALKER 2 is significant, and you risk death if you fall here.
Finding Nehoda and Scanning Points Data
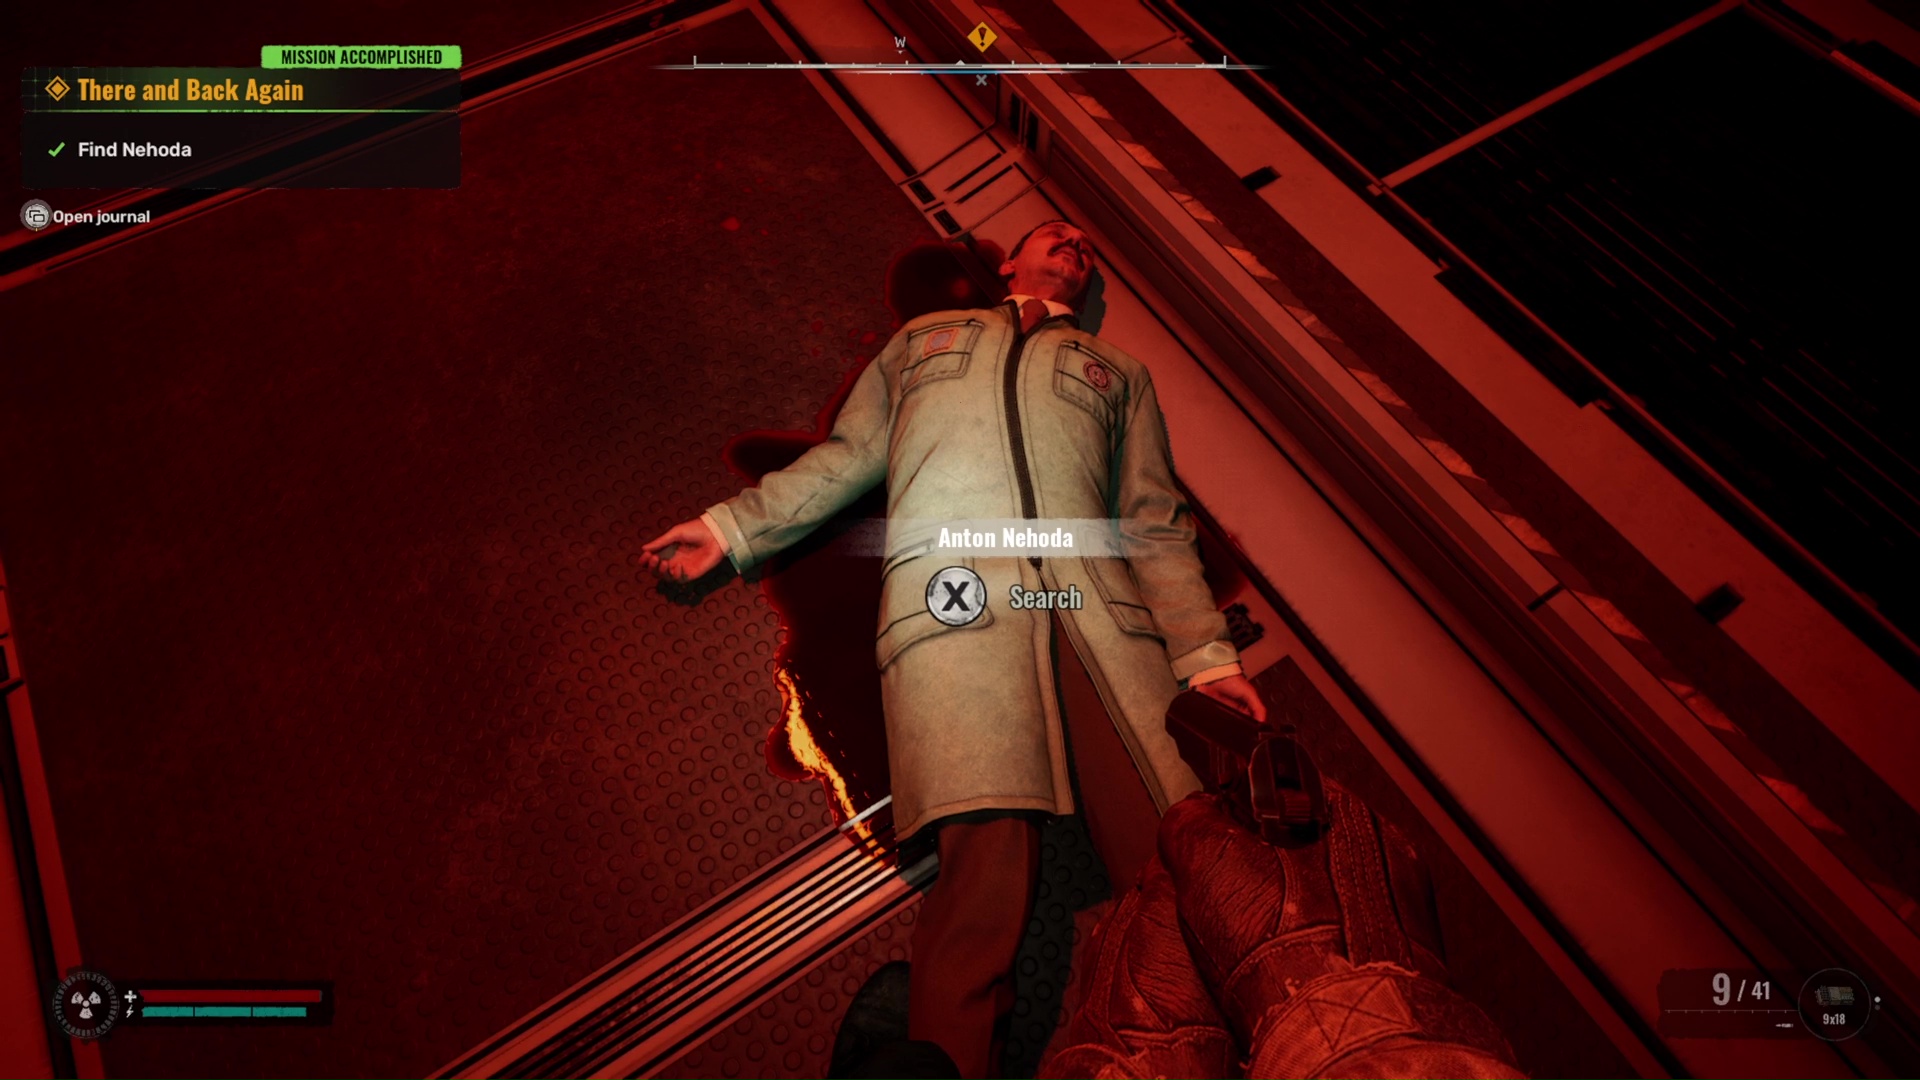
The lab isn't dangerous, so feel free to explore and loot everything while you're looking for Nehoda and scanning points data. If you need help with the quest, here's what to do.
- Follow the path around to the West side of the lab to find Nehoda's body. Loot the PDA off it, and turn on the fuse box right next to the body.
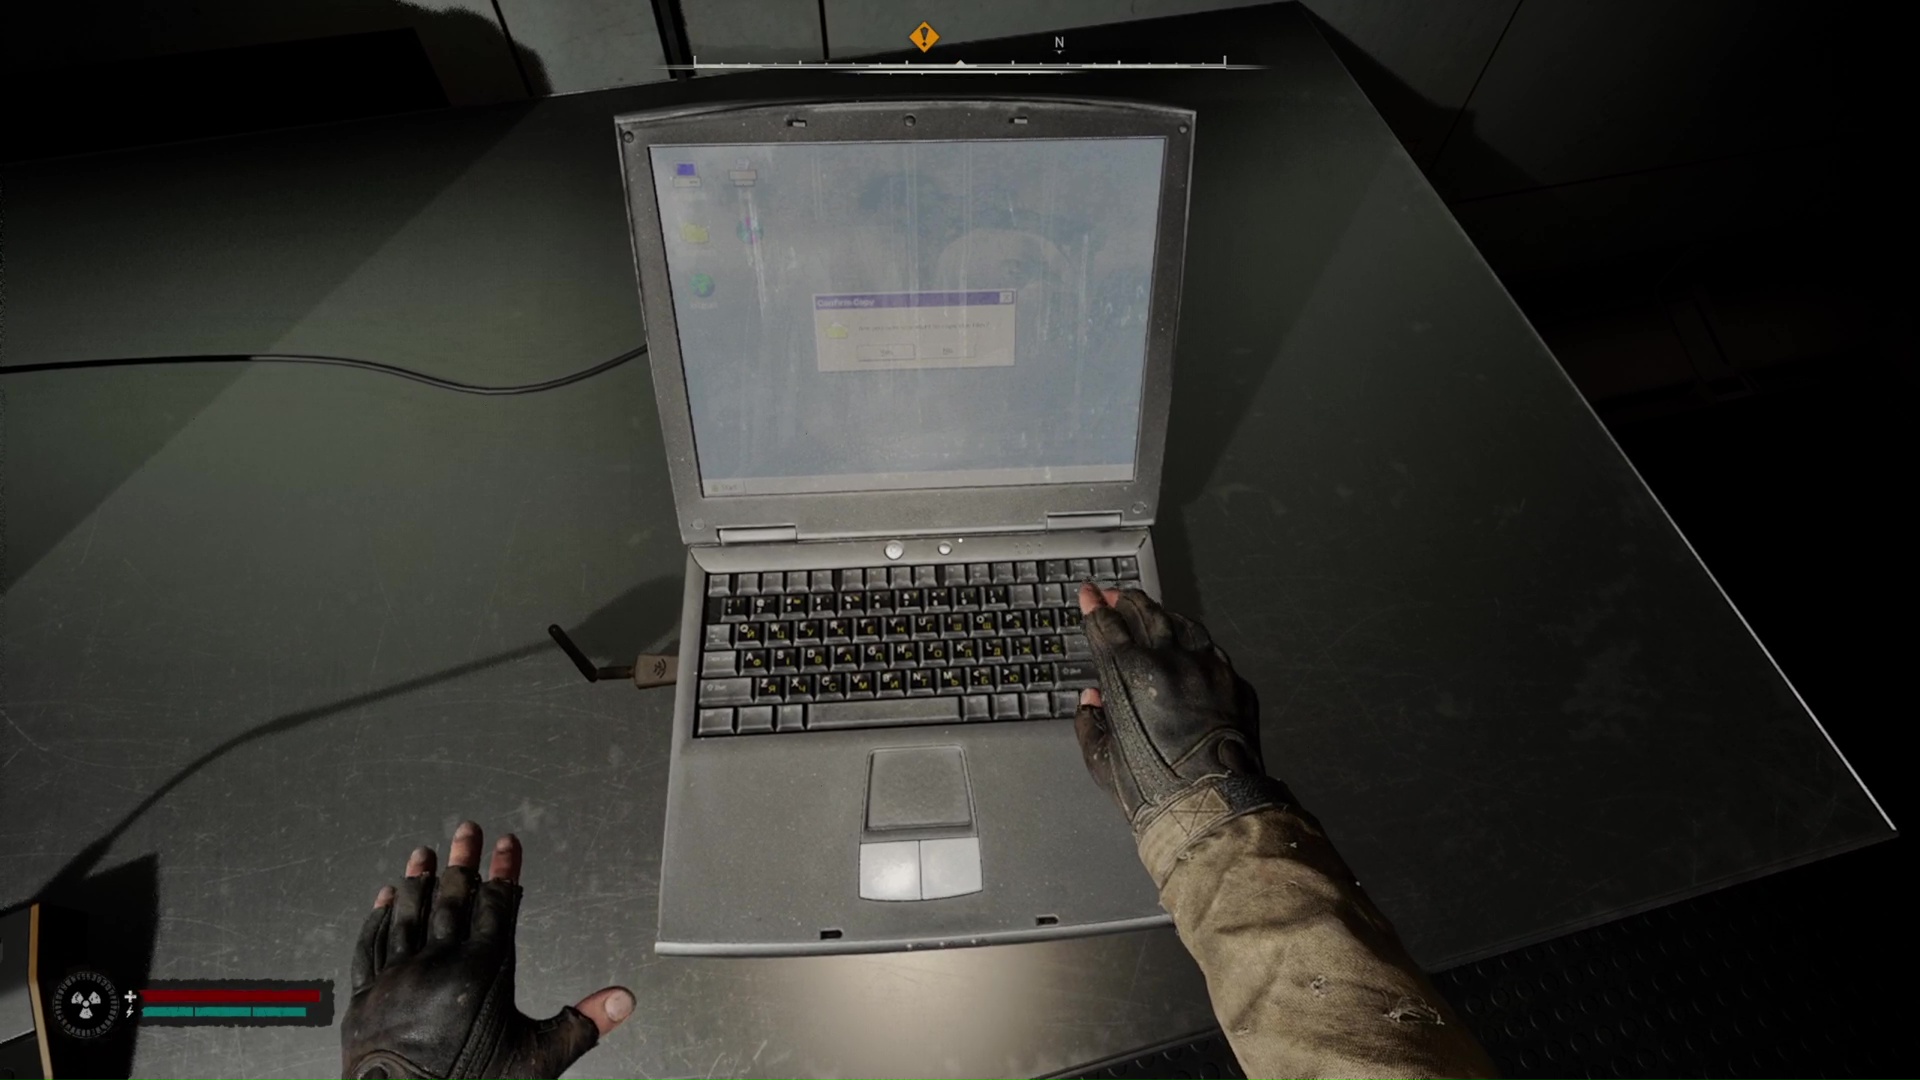
- Head back around to the ladder you came in through. Next to that is a room with a body and a laptop - interact with the laptop to trigger a radio message.
- You can now leave the lab by the North East door next to the body in the orange hazmat suit.
How to find the Artifact in the Anomalous Field
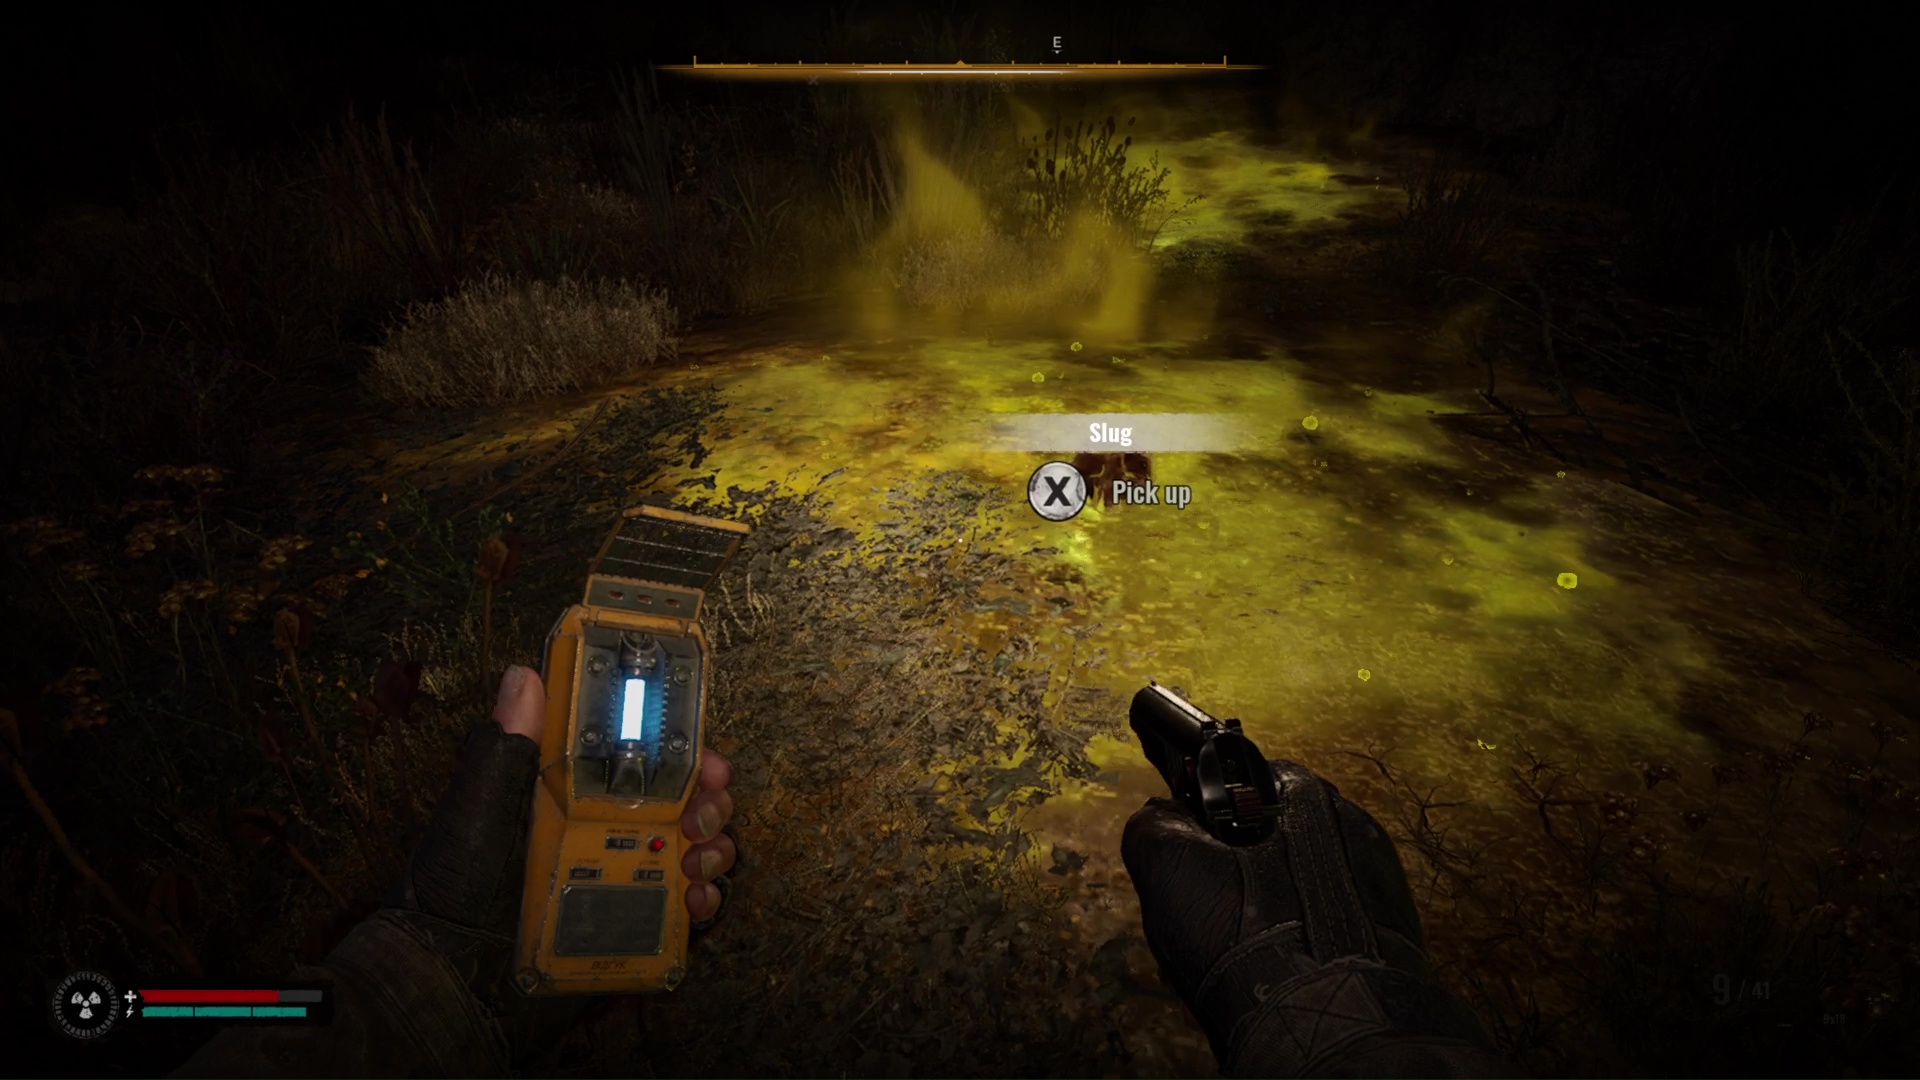
To find the Artifact in the Anomalous Field you need to walk into the green acid swamp with the detector in hand. The artifact itself is invisible until you get close enough - so specifically head to the fallen barrel in the middle. Once the blue light on the detector becomes solid, the artifact will appear in a little flash of light near your feet. You can see what you're looking for in the image above, and it's called The Slug - grab it and equip it in your inventory.
Scanning the Different Points
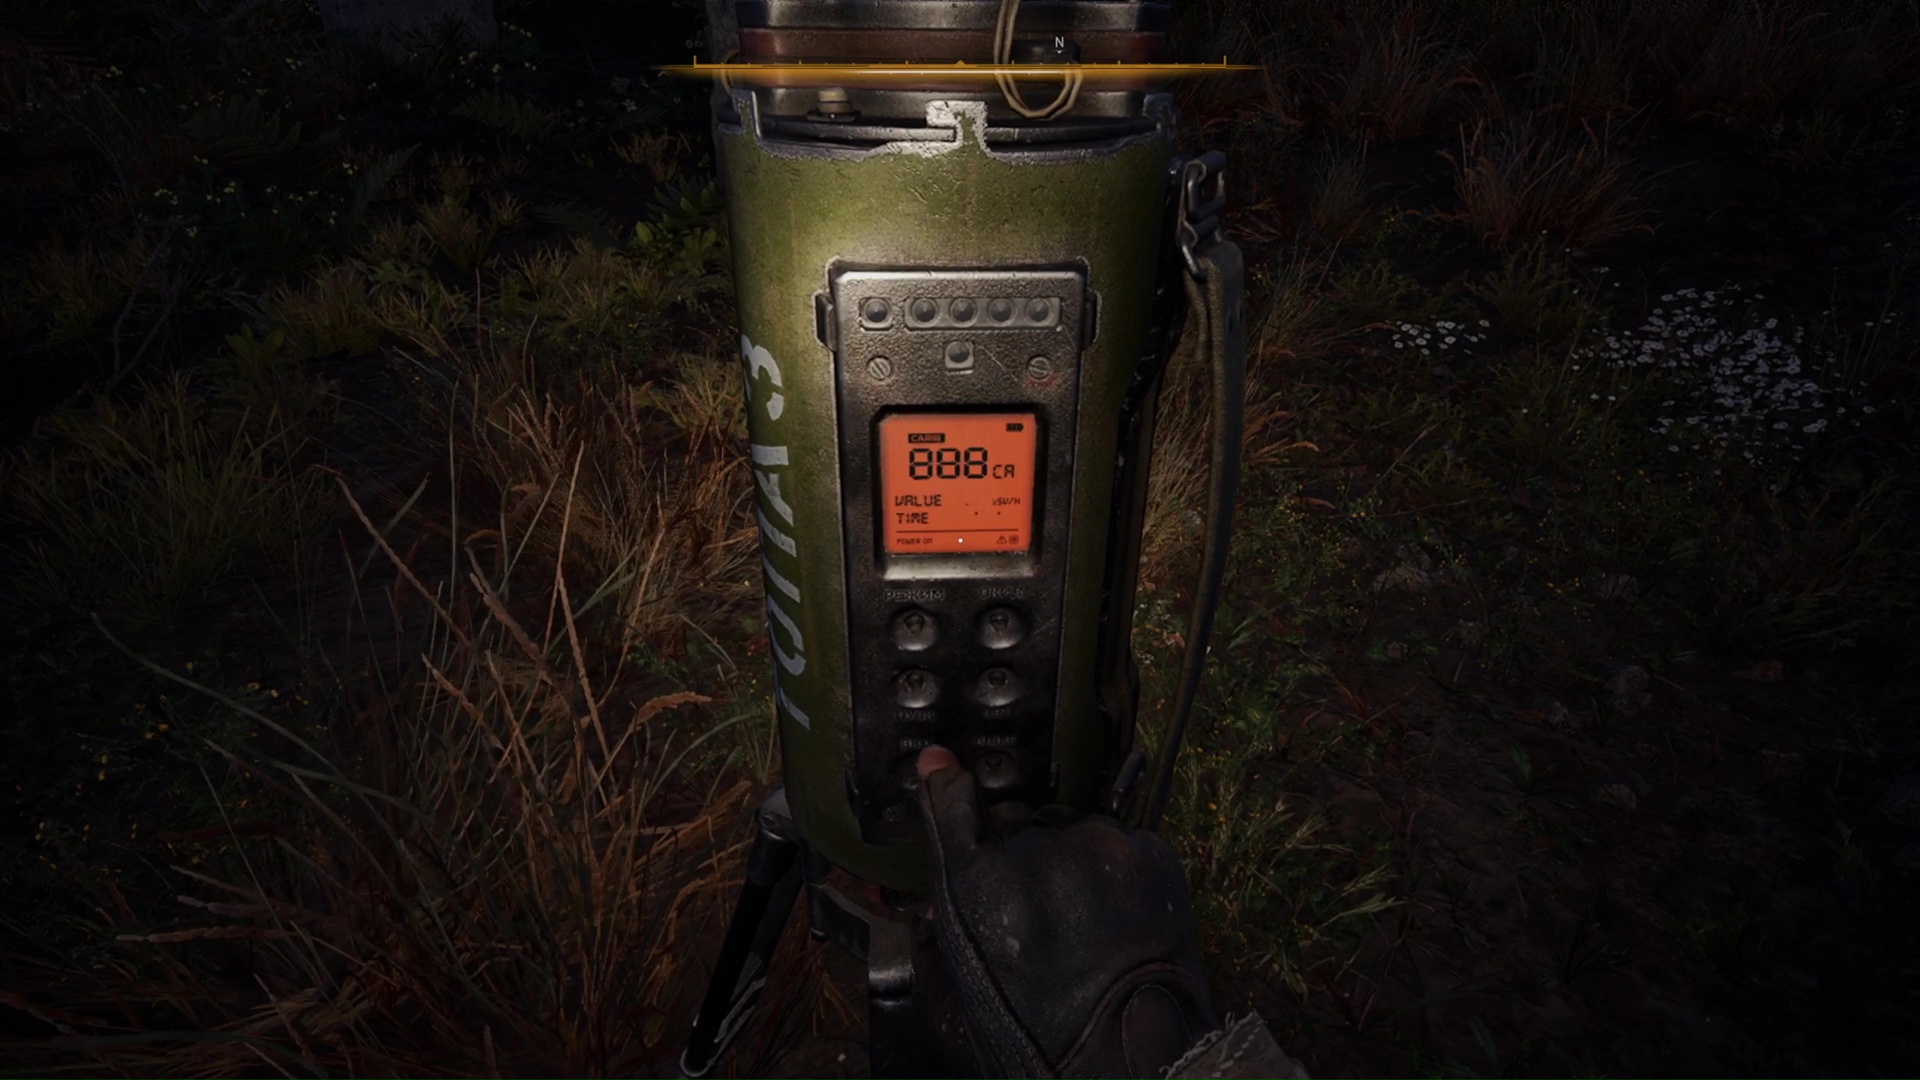
The next step in There and Back Again is about scanning several different points. Follow the objective markers, but look out for enemies. Both bandits and mutants will appear randomly and right now it's better to stealth around them. If you do get caught by mutants or animals run away from them while shooting behind you while you're not strong enough to withstand their attacks. And if you get caught by bandits use cover to fight them.
When you get to the first objective marker, there'll be a swirl of blue energy with the option to "set scanner" in the middle. Immediately back away! There'll be a circle of blue energy around the scanner. Keep out of it until it's done making glowing lights before getting it again (otherwise you risk taking damage).
The second scanner point is inside a cave, so make sure you head down one of the attached tunnels to get to a safe distance. This time, there'll also be jets of fire from the ground for you to avoid.
The third point triggers a cutscene where Skif hides inside a house. We won't spoil what happens, but you're moved to a different location when it's done.
How to get out of the Anomalous Field
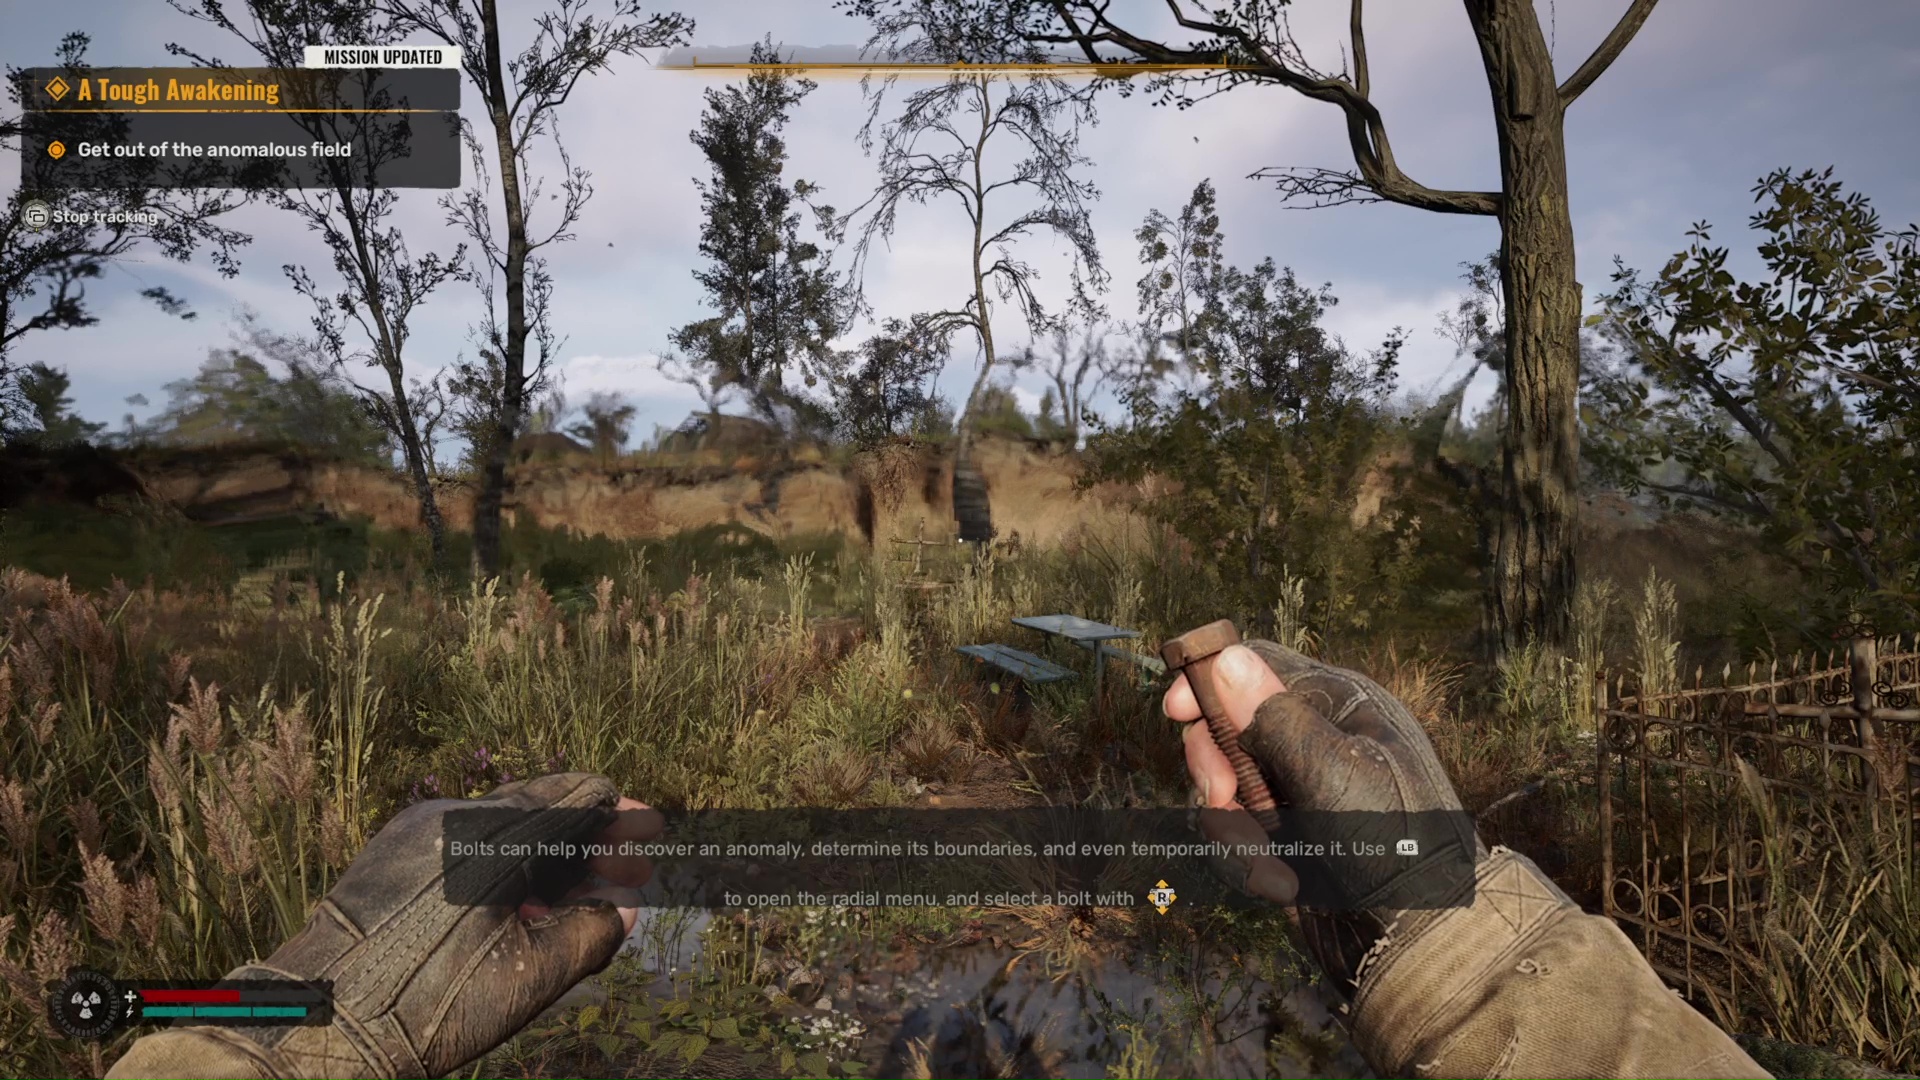
After scanning everything you'll be in a new location and meet a friendly dog, you'll be surrounded by anomalies and given some bolts. We actually put together a full guide on how to escape the anomaly in STALKER 2, but if you want the quick version, you're surrounded by lethal energy - throwing a bolt at one shuts it down and makes it safe for about two seconds before it becomes lethal again - throw bolts and sprint through the area you triggered while it's down to get through.
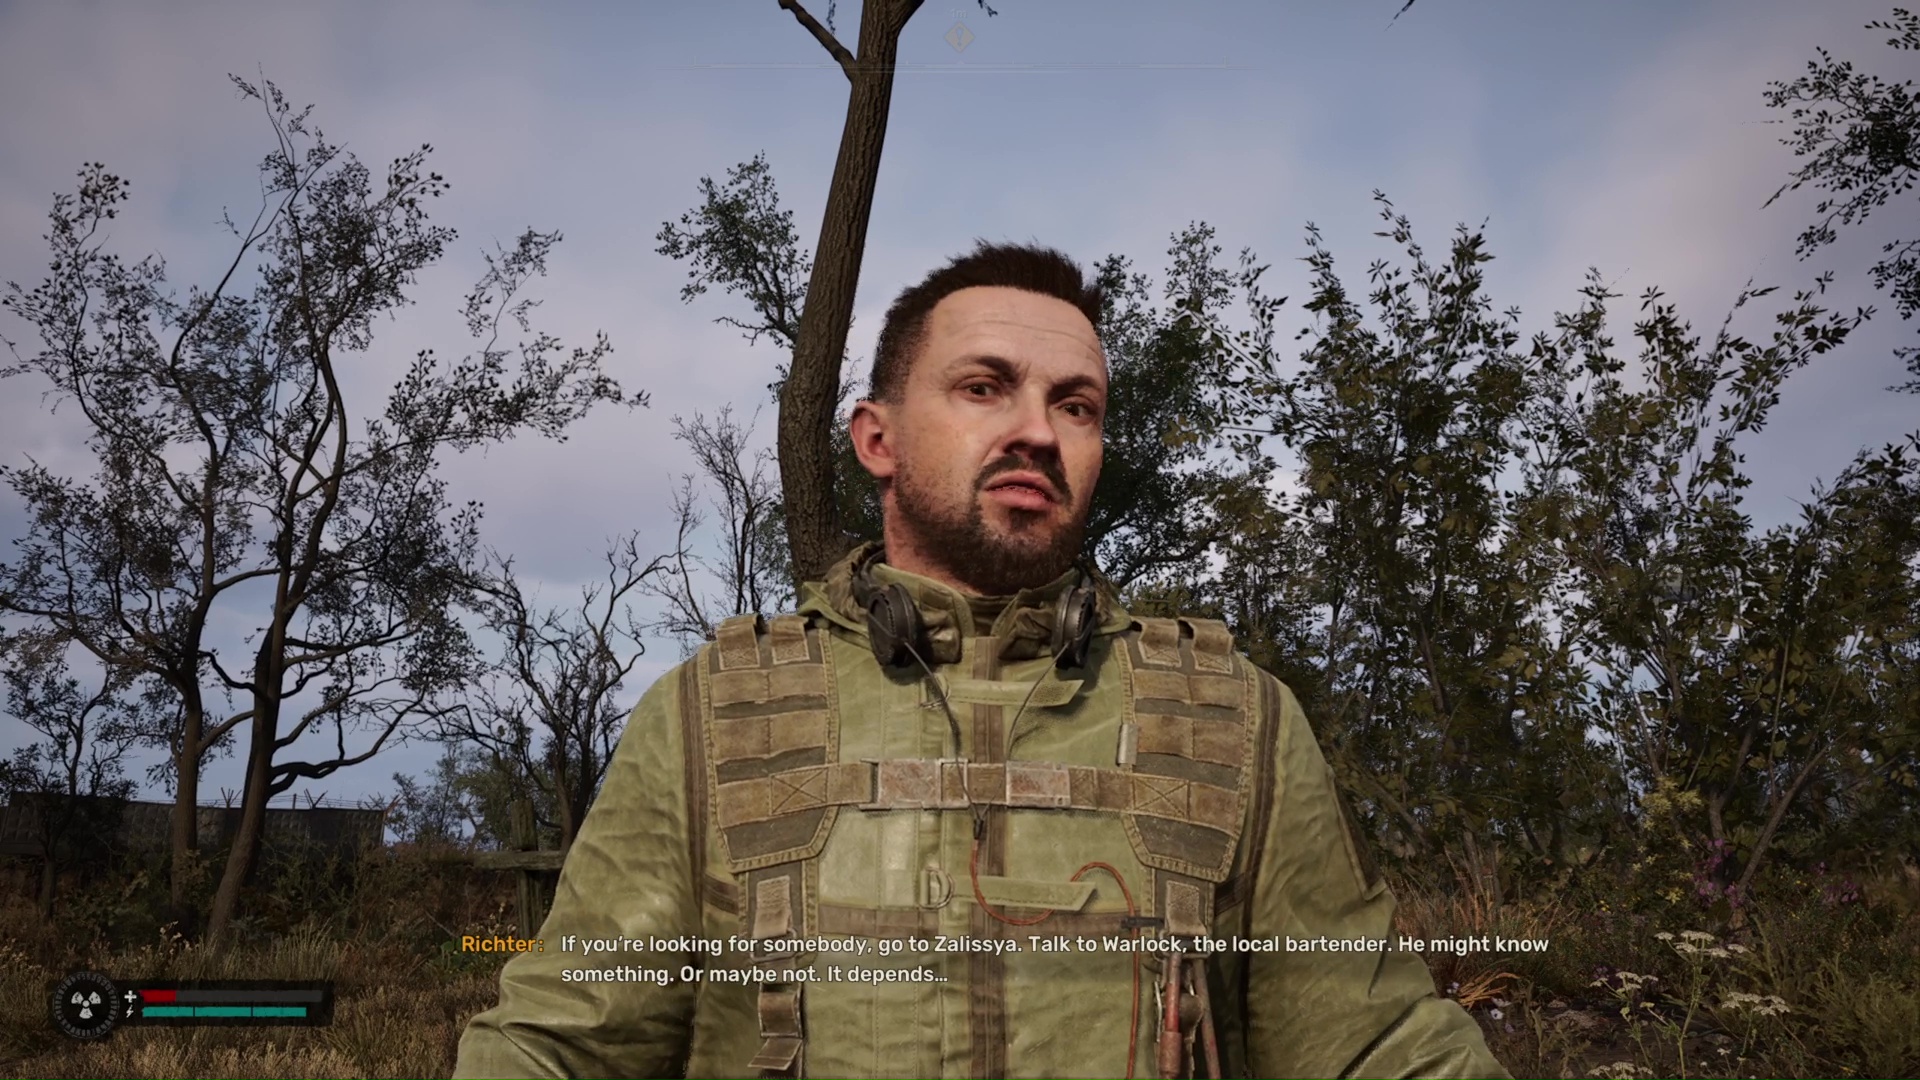
Once out of the area, speak with Richter, the man who threw you the bolts earlier. At this point you're basically out of the tutorial and in the main game. There are still plenty of things to learn though, so I recommend following Richter's advice and going to the town of Zalissya for the clearest path ahead - this eventually leads you to the STALKER 2 Squint choice too. Otherwise, you're now officially in STALKER 2: Heart of Chornobyl - and best of luck to you.
© GamesRadar+. Not to be reproduced without permission

Joel Franey is a writer, journalist, podcaster and raconteur with a Masters from Sussex University, none of which has actually equipped him for anything in real life. As a result he chooses to spend most of his time playing video games, reading old books and ingesting chemically-risky levels of caffeine. He is a firm believer that the vast majority of games would be improved by adding a grappling hook, and if they already have one, they should probably add another just to be safe. You can find old work of his at USgamer, Gfinity, Eurogamer and more besides.
- Grace DeanFreelance Writer
You must confirm your public display name before commenting
Please logout and then login again, you will then be prompted to enter your display name.
